Setting up a virtual conferencing room
What if we didn’t have to emit quite as much carbon to do mathematics effectively?
As the latest heat wave sweeps the globe, it’s nice and cool down here in the basement of the mathematics building at Colorado State University. Thanks to a combination of my NSF grant and contributions from the CSU College of Natural Sciences, we have set up an easy-to-use, high quality virtual conferencing room here!
While there is certainly a benefit to in-person networking at conferences, some other aspects of academic work can arguably be improved by building high quality virtual spaces. For one, there is a significant carbon footprint caused by academic travel, and the COVID-19 pandemic has given us the opportunity to think about ways to slash our carbon footprint. For another, there are disabilities, economic disparities between regions, and caregiving situations that make it difficult for some academics to travel as much as others. Improving virtual options could improve accessibility and enable such academics to more easily share their ideas.
And finally, playing with virtual technology is fun!
The Setup
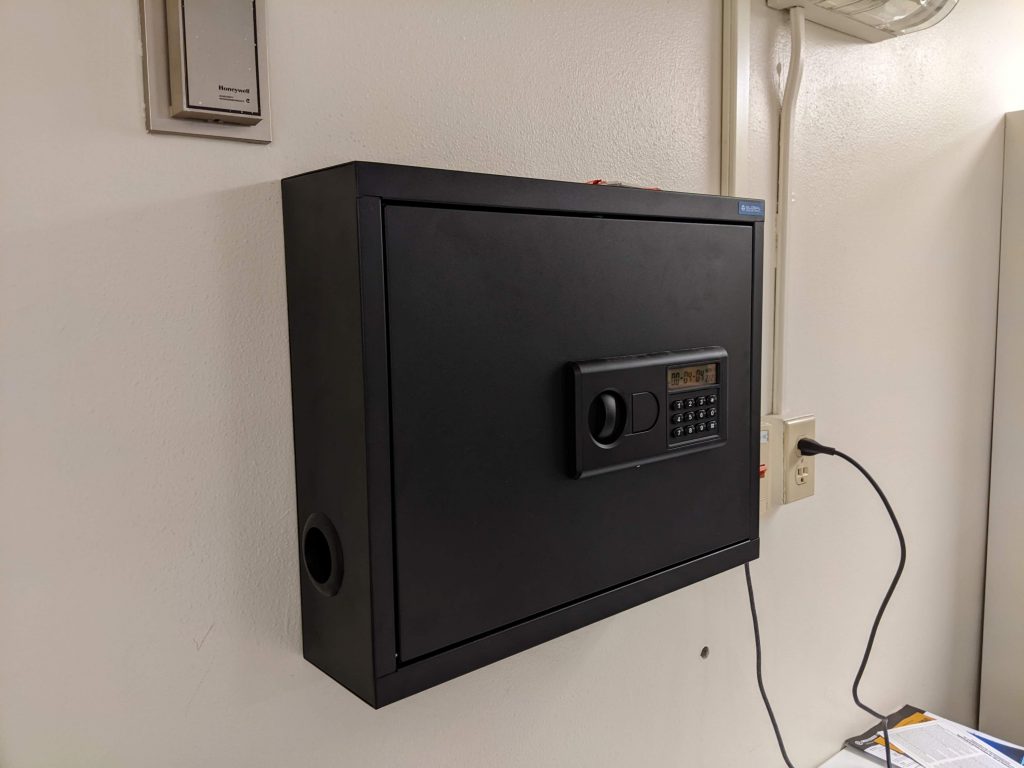
The first thing a virtual conferencing room needs is a designated computer and webcam. But how do you store such a computer in a secure way?
Our solution was to buy a laptop and store it in this wall-mounted lock box on a wall in the (small) room:
The box opens with a custom keypad combination to reveal a laptop:
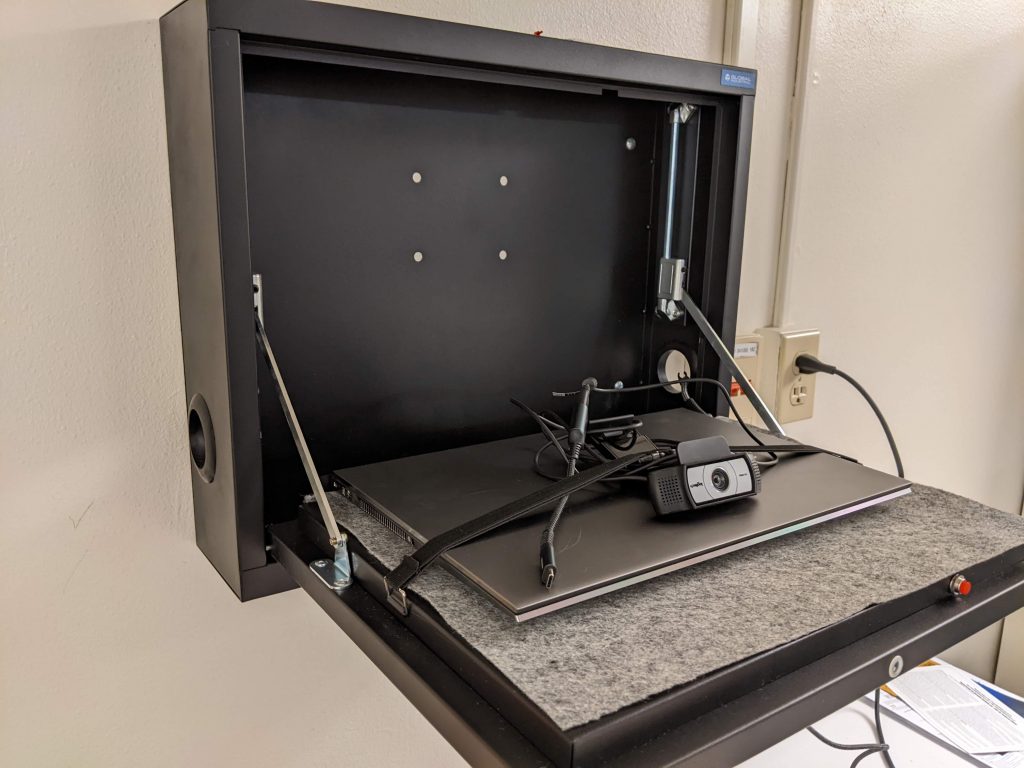
Included in the box is a webcam and (not pictured) a USB lavalier microphone with a 20 foot cord. Open up the laptop and the following software is easily accessible to all users:
- Zoom
- Microsoft Teams
- LogiTune, which allows one to easily adjust the zoom, focus, and settings on the Logitech webcam
- Open Broadcasting Software (see my previous post on using OBS for live virtual talks or recordings)
- VB Audio Cable for virtual audio to use with OBS
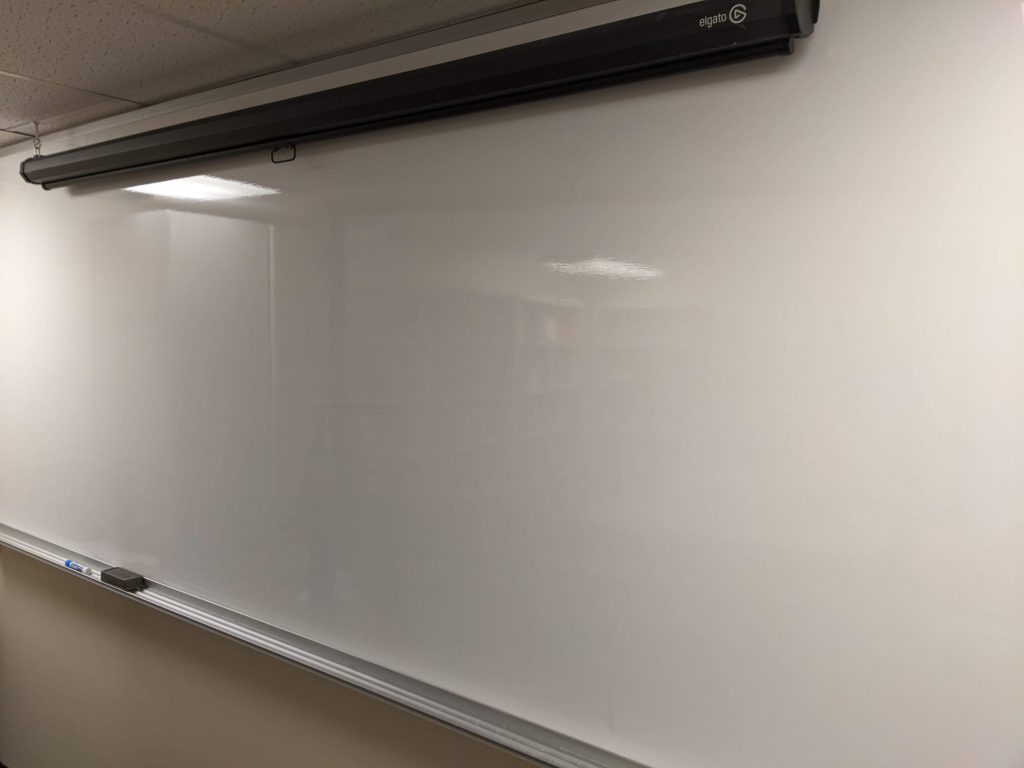
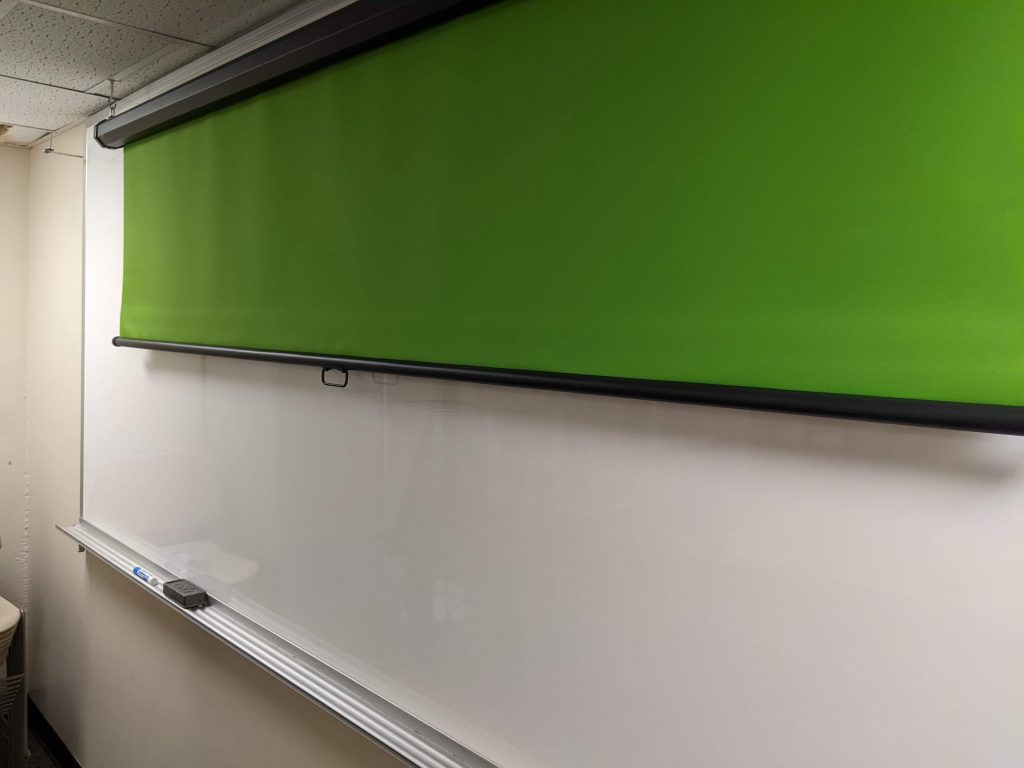
Directly across the room from the laptop box is a wall with several options for giving a talk. First, there is a whiteboard on the wall for low-tech virtual math presentations:
What’s that hanging from the ceiling? It’s not a projector screen… why, it’s a pull-down green screen!
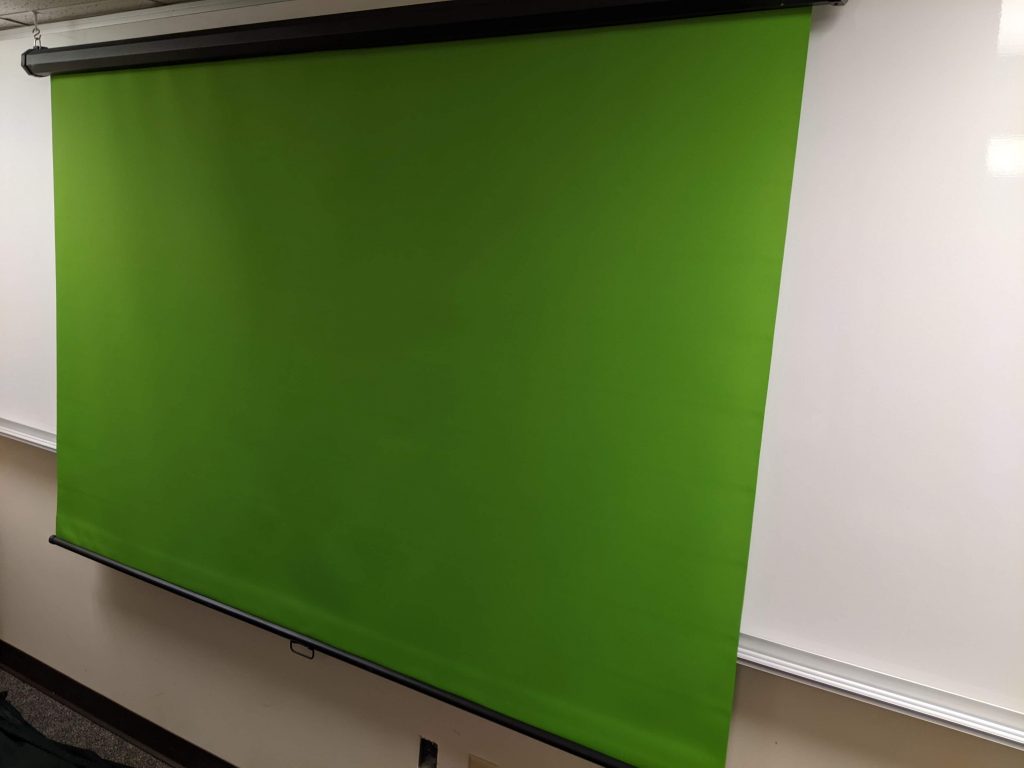
Stand in front of the green screen, turn on OBS and upload your slides to the computer, and you can give a slide presentation that makes it look like your slides on the laptop are actually displayed behind you on the green screen! Here is an example of a recent talk I gave using this method:
https://youtu.be/E7NiPzmXUcA
The green screen area can be recognized by the computer to be filled in with a slide presentation; this makes the mathematics look much more crisp and readable than if one were to point a webcam at an actual slide presentation being given via a projector.
Finally, there are also extra hooks installed on either side of the green screen that allow another screen to be hung - a black sheet. This is the backdrop for use of a Lightboard, which my colleague Alexander Hulpke obtained and added to the room with the help of the College of Natural Sciences:
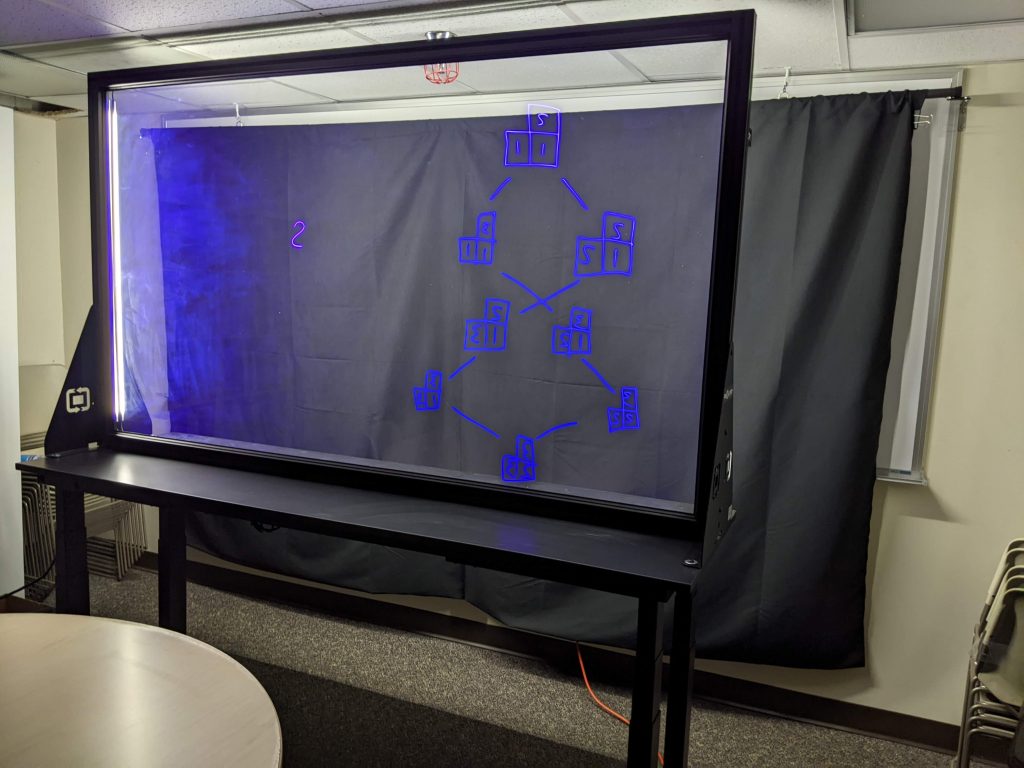
As you can see, the presenter can stand between the Lightboard and the black sheet and write mathematics on the back side of it. Then you can record using the laptop and flip the camera orientation (flipping the camera can also be done for livestreaming on Zoom) and create an excellent presentation with mathematics seeming to float in the air before your eyes:
https://www.youtube.com/watch?v=gUQbXsW_U30
To use the Lightboard, the room has to be completely dark; it is best to use a room with no windows if a Lightboard is going to be set up. The Lightboard has its own lights that illuminate the speaker’s face, but otherwise if there is light in the room then there will be too much reflection in the glass board.
The darkness does make the video a little choppy, but the mathematics is crisp and clear. You can also see the lavalier mic attached to my collar in the video above, making for high-quality sound recording. This is essential for the Lightboard presentations in particular, because otherwise the sound will be muffled behind the glass board and not be recorded.
There are certainly improvements that can still be made to the room in terms of both video quality and ease of use (a better camera may eliminate the choppiness on the Lightboard video, for instance), and suggestions are welcome! In the meantime, I hope this post inspires other academic departments and instituitions to set up similar technology so that we can continue to share ideas more sustainably in the years to come.